
Building a Concrete Shed Pad That Stays Level in Central Texas
A shed is only as stable as the slab below it. The right size, base, drainage, and anchoring keep doors aligned and equipment dry for years.
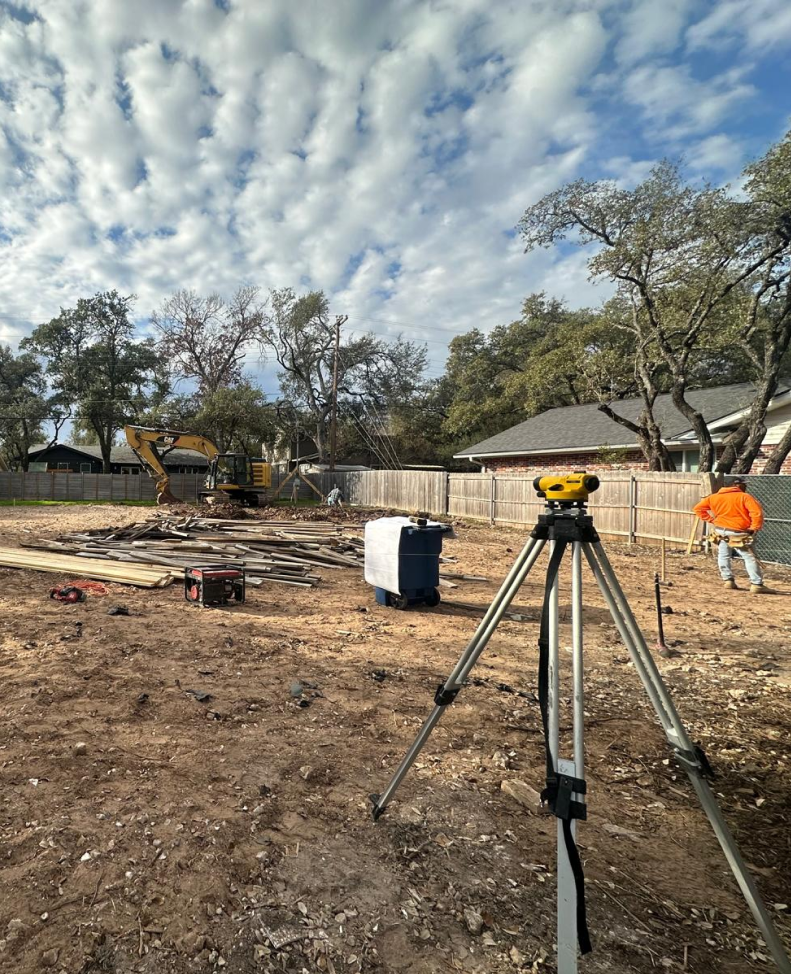
Backyard sheds carry concentrated weight, protect expensive tools, and often sit where yard drainage is least convenient. Setting one on blocks or a thin slab may look economical, but movement in Central Texas clay soil can rack the structure, bind doors, crack the floor, and let runoff enter. A durable concrete shed pad begins with planning the structure and the site together rather than pouring a generic rectangle and hoping it fits.
Confirm the shed footprint before excavation
The slab dimensions should match the shed manufacturer's requirements, including wall placement, door clearance, overhangs, and anchor locations. Too small leaves walls unsupported; too large can create a ledge that catches rain and directs it under the building. Future use matters too. A light garden shed and a workshop holding a mower, cabinets, or heavy equipment may require different slab thickness, reinforcement, and edge details.
Remove weak soil and prepare a compacted base
Topsoil, roots, and organic material cannot support a slab reliably. Excavation should reach stable material and allow room for a compacted aggregate base. The base spreads loads and reduces the effect of localized soil movement. It must be placed and compacted consistently, not simply dumped and flattened at the surface. Soft pockets and poorly filled utility trenches often become the exact places where cracks or settlement develop later.
Keep runoff away from the building
The pad should sit at an elevation that keeps the shed above surrounding runoff while still allowing comfortable access. Adjacent soil needs positive drainage away from the slab, and roof runoff should not discharge beside an unsupported edge. A subtle surface slope may be appropriate depending on how the interior will be used, but it must not create a door problem. Downspouts, swales, and nearby fences should all be considered before the forms are set.
Plan reinforcement and joints for the actual load
Concrete naturally shrinks as it cures and moves with temperature and moisture changes. Reinforcement helps hold cracked sections together, while control joints encourage shrinkage cracks to occur in planned locations. Neither compensates for a weak base. Slab thickness, rebar or mesh, joint layout, and edge support should follow the shed size and anticipated loads rather than a one-size-fits-all detail.
Coordinate anchoring and utilities
Anchors placed while the concrete is fresh can provide a cleaner connection than drilling later, but their locations must match the building plan. Electrical conduit, water lines, or a future mini-split also need planning before the pour. Cutting and trenching a new slab immediately after construction adds cost and creates avoidable penetrations. Local setback, permit, and utility requirements should be confirmed before any digging begins.
Give the slab time to cure
A slab can feel hard within a day while still developing strength. Shed delivery and assembly should follow the contractor's loading guidance, especially when trucks, forklifts, or heavy wall panels will cross the pad. CIMA Concrete builds exterior flatwork and concrete pads around Lockhart and Central Texas with attention to excavation, drainage, reinforcement, finish, and curing. Contact us to evaluate the site before ordering the shed or scheduling delivery.
Planning a shed or equipment pad?
We can review the footprint, access, soil, drainage, and loading before the concrete work begins.
Get a Free Estimate